Hi Besties! So you’ve checked out all the benefits of gardening and are now ready to get started? Welcome to the dark side :). You have two options – 1) head to your local nursery or home store and purchase some seedlings or 2) buys some seeds and try to grow seedlings yourself. In this post I’ll focus on starting seeds yourself. Collecting and planting seeds are probably my favorite parts of gardening. I am absolutely fascinated with collecting my own seeds and getting them to sprout on my own! It’s so rewarding. The process to start seeds is fairly simple and can be done with just a few basic supplies, but don’t get discouraged if it doesn’t work for you at first. Everyone’s house is different and it can take some trial and error to find what works best for you! In this post, we’ll go over the steps to start seeds and provide some tips for success.
Step 1: Choose your seeds.
Before you can start your seeds, you’ll need to decide what you want to grow. Choose seeds that are appropriate for your climate and the time of year that you are trying to start them. If you’re not sure though, there’s no harm in experimenting! You can find seeds at your local nursery or garden center, or you can order them online. Take a look through the different options, and just pick a couple that you want to try. As Janet Kilburn Phillips said, “There are no gardening mistakes, only experiments.” Check out my other post “Choosing Seeds and Timing when to Start them” for some more inspiration!
Step 2: Gather your supplies.
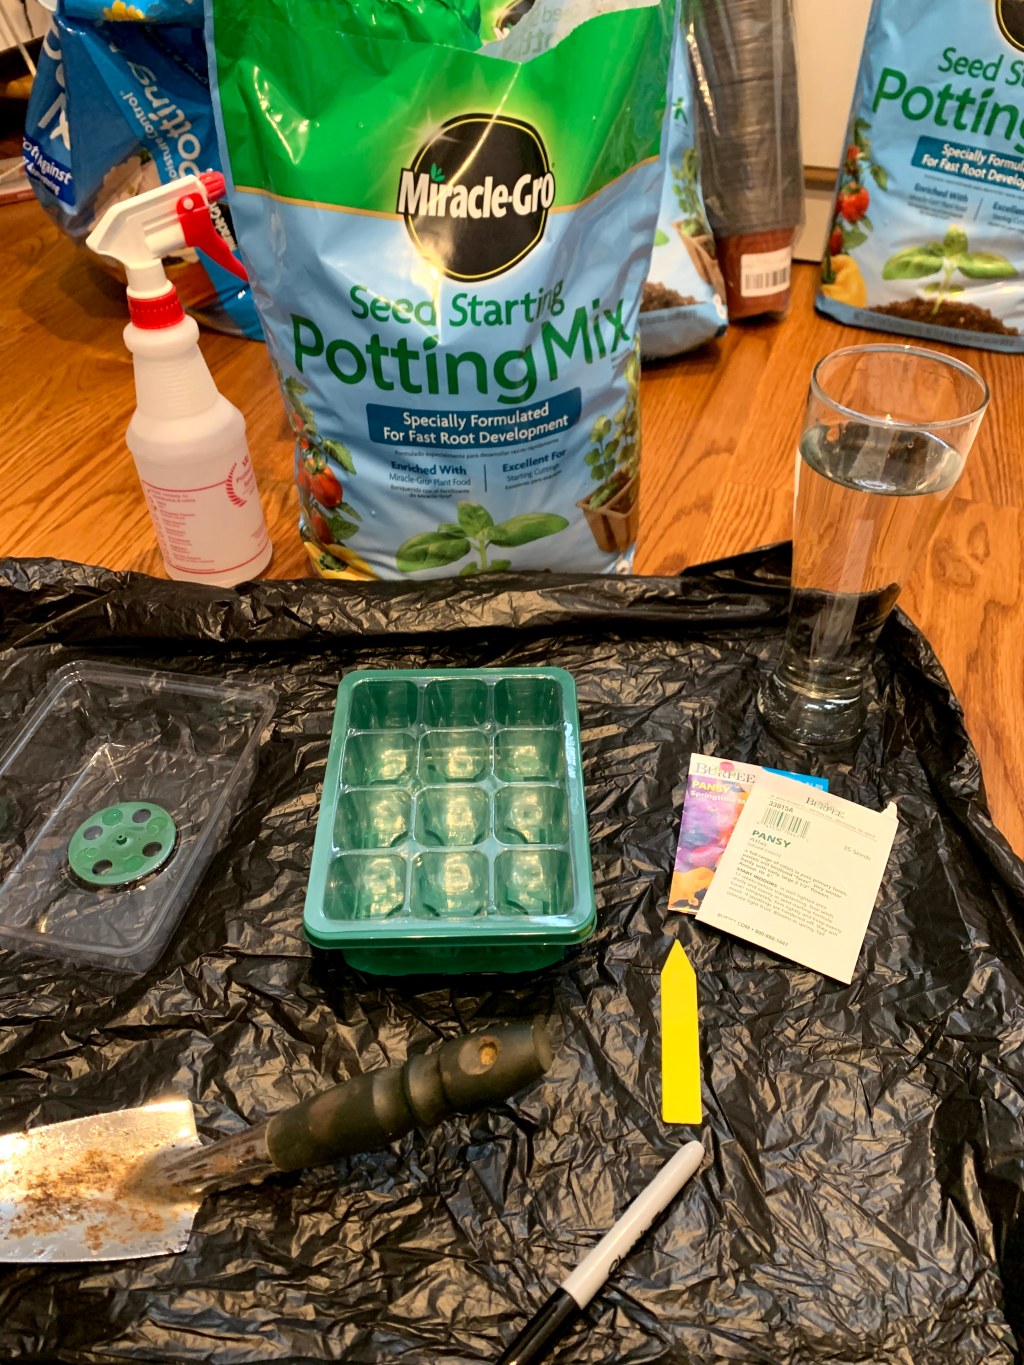
To start seeds, you’ll need the following supplies:
- Seed trays or pots, it’s best to choose ones that come with plastic lids to create a greenhouse effect to keep the soil warm and moist
- Seed-starting soil
- Seeds
- Water, I like to use a spray bottle for new seeds rather than a full watering can or faucet as it is more gentle on the seeds as they begin to germinate.
- Plastic tablecloth or garbage bag
- Grow lights (optional)
- Heat mat (optional)
The items above are linked using my Amazon Associate account. As an Amazon Associate I earn from qualifying purchases. If you are thinking of purchasing these items, it would really mean a lot to me if you could purchase them through the links above!
Step 3: Decide where you want to grow them
Before you get started, you’ll want to decide where in your house you want to keep the seeds that you are trying to start. I didn’t think this through my first year and ended up having containers of dirt and seeds all over my kitchen! I’ve had the best luck getting a relatively inexpensive storage shelving unit from Amazon (affiliate link) and setting it up with heat mats and grow lights. I usually set it up along a wall somewhere out of the way in my house. You will want to place the shelving unit in a place with fairly consistent temperatures, if you have the grow lights then it’s not as important that it gets natural light. One year, I set up the racks in my utility room but the temperatures fluctuated so much and got so hot with our furnace in the room that my seeds were not happy! This might take a bit of trial and error.
Step 4: Prepare your soil
Once you choose your seed location and set up your storage, you can get started with planting your seeds! I am always antsy to start my seeds when it is still freezing cold out and end up starting them indoors and getting dirt EVERYWHERE. Make sure you lay something down on your workspace that allows for easy cleanup! I generally just lay down a black garbage bag. Fill your seed trays or pots with seed-starting soil, leaving about ½ inch of space at the top. I always end up filling them too high and end up spilling water all over the place every time I try to water them. Seed-starting soil is specially formulated to provide the right amount of drainage and nutrients for seeds to germinate. Once you’ve filled your tray with soil, make sure to saturate the soil with water. You want the soil to be wet, but you don’t want there to be water pooling on the top.
Step 5: Plant your seeds
Plant your seeds according to the instructions on the seed packet. Some seeds need to be planted deep, while others just need to be pressed lightly into the soil. As a general rule, plant seeds twice as deep as their diameter. After planting, cover the seeds with a thin layer of soil and press down lightly.
Step 6: Water your seeds
Wet the last bit of soil that you’ve sprinkled on top of your sides. I generally like to use a little spray bottle filled with water, but it’s no problem to just very gently poor a bit more water over your seeds. The soil should be evenly moist, but not soaking wet. You can water your seeds from the top or bottom.
Step 7: Provide light and warmth
Seeds need warmth and light to germinate. If you’re starting seeds indoors, place them near a sunny window or under grow lights. If you’re starting seeds outdoors, make sure they’re in a spot that gets plenty of sunlight. You can also use a heat mat to provide consistent warmth for your seeds. I find that if you’re starting your seeds somewhere in your house that is a bit chillier, like a basement, that heat mats are key!
Step 8: Wait for your seeds to germinate and seedlings to emerge!
Once your seeds start to germinate, you’ll see your little seedlings begin to emerge, or as I refer to them to my husband, “my babies”. Congratulations, you are now a gardener!
I will make a separate post about hardening off your seedlings and planting them out in the garden!
Happy gardening!

Leave a comment